How To Foam Roll for Post-Workout Recovery
This is part 2 of Enerskin’s series on foam rolling. To read more about the practice of foam rolling, what it does, and how it’s helpful for recovery, check out part 1 of the series.
As we mentioned in the previous post, foam rolling is a great tool for recovery because it’s inexpensive and easy to do, doesn’t take too much extra time, and preps your muscles for better recovery so you can get back out quicker while reducing risk of injury.
In this post, we’ll be diving deeper into foam rolling basics, including a primer to getting started, some useful tips on foam rolling, and basic foam rolling moves.

Part of the appeal of foam rolling is how easy it is for anyone to start doing it. The only thing required is a foam roller. If you’re a beginner, purchasing a basic foam roller costs as little as $10. These basic rollers are great for learning and getting used to the movements, but they compress and lose some of their effectiveness over time.
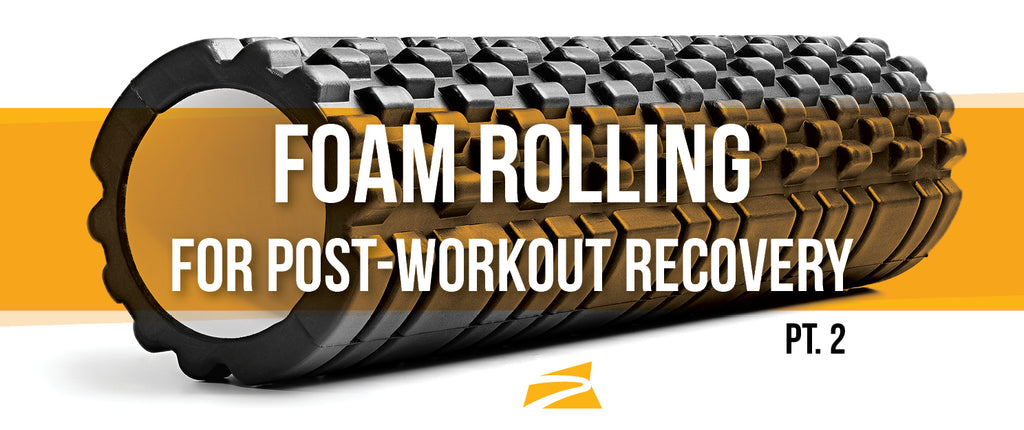
We recommend investing in a nicer foam roller. These typically run $30-40 and have strong plastic cores surrounded by foam material. This design has the benefit of lasting much longer even with heavy usage. Instead of cycling through several foam rollers a year, you can use a nicer one for many years. TriggerPoint GRID foam rollers and similar models fall under this category.
Tips on Foam Rolling
Before jumping into basic foam rolling moves, here are some general tips to get the most out of your foam rolling sessions:
- The ideal time to foam roll after workouts is when your muscles are still warm
- To foam roll, position the roller below targeted muscle groups and slowly roll back and forth while applying pressure to the soft tissue
- Start from the center of your body and end on your extremities
- Don’t forget to relax your muscles and to breathe
- Roll each muscle group for at least 30 seconds (1 minute recommended)
- If you hit a tight spot (trigger point), hold on that spot until you feel the tension release
- If an area is too tight or painful, focus on rolling out the surrounding tissues to gradually loosen out the entire area
- Avoid rolling over bones, joints, or the lower back
- Drinking plenty of water to hydrate after a foam rolling session
Basic Foam Rolling Moves

Lie facedown with your arm extended and the foam roller under the crease of your shoulder. Press your weight into the roller with your hips and stomach off the ground and slowly roll over your chest and front shoulder muscles. Repeat on the other side.

Lie on your right side with right arm extended and the the foam roller under your armpit. Cross your left leg over your right for support and lift your hips while applying pressure on your lats. Repeat on the left side.

Place the foam roller horizontally below your upper back and cross your arms in front. Raise your hips off the ground and apply pressure onto the roller while slowly moving from the mid-back to upper-back. Use your feet to control movement.

Sit on top of the foam roller, directly on the right glute. Slowly roll back and forth to release tight muscles. You can cross your left leg over your right knee while rolling to provide additional pressure. Repeat on the left glute.

Lie facedown in a plank position (weight supported by your forearms) with the foam roller horizontally below your quads. With your feet off the ground, slowly move the roller back and forth from just below your hips to just above your knees.

Similar to the quad roll, the hip flexors roll requires angling the foam roller slightly and placing it just at the crease of your pelvis and hips. Roll back and forth slightly and shift your weight from side to side.

Lie on your side with your bottom leg on the foam roller and the top leg crossed over the bottom leg. Slowly move the roller back and forth over the IT band from just below your hips to just above your knees. Repeat on the other side.

In a seated position with both legs outstretched, place your calves (both or one at a time) on top of the foam roller. With your hands at your sides or just behind you supporting your weight, lift up your hips and legs and slowly roll from the ankles to just below the knees. You can cross one leg on top of the other to provide additional pressure for each calf.
Some Last Thoughts
If you haven’t foam rolled in the past, we recommend checking in with your physician or physical trainer for additional pointers and advice.

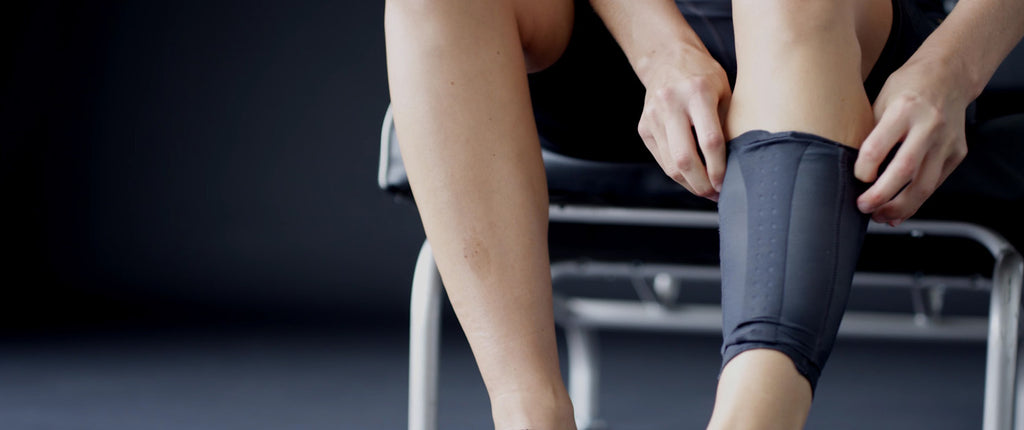
Once you get comfortable with the practice, don’t forget to combine foam rolling with Enerskin products to supercharge the recovery process! Wear the new E75 collection compression gear in reverse (silicone side out) for an additional 2-3 hours after foam rolling to help further speed up muscle recovery.
Sources:
https://www.verywellfit.com/how-to-use-a-foam-roller-3120309
https://blog.paleohacks.com/foam-rolling/
https://www.mensjournal.com/health-fitness/10-foam-roller-moves-your-entire-body/2-calf-roll/
you may also like
